
This is a clever way to display birthdays. The months of the year are written across the bottom of the poster board (in orange) and the children's pictures are in columns above the month of their birthday. This is a great graphing activity.

 Here is another example of how to use name cards in your classroom. Here Arturo uses magnetized letters and a name card to spell his name. Note that he knows an "r" is the same as a "R" and has substituted an "h" for a "u" (he turned the "h" upside down). This is a meaningful, hands-on way for children to learn letters. What can you do with name cards in your room? Get creative and share your ideas in the comments section! PS: Cheap cookie sheets are perfect companions for magnetic letters!
 Using name cards is a great way to help children identify and write their names. In the image above Susie uses her friend Sinai's name card to practice writing her name. Children love to learn how to identify and write their own names, but they also enjoy learning the names of friends and family.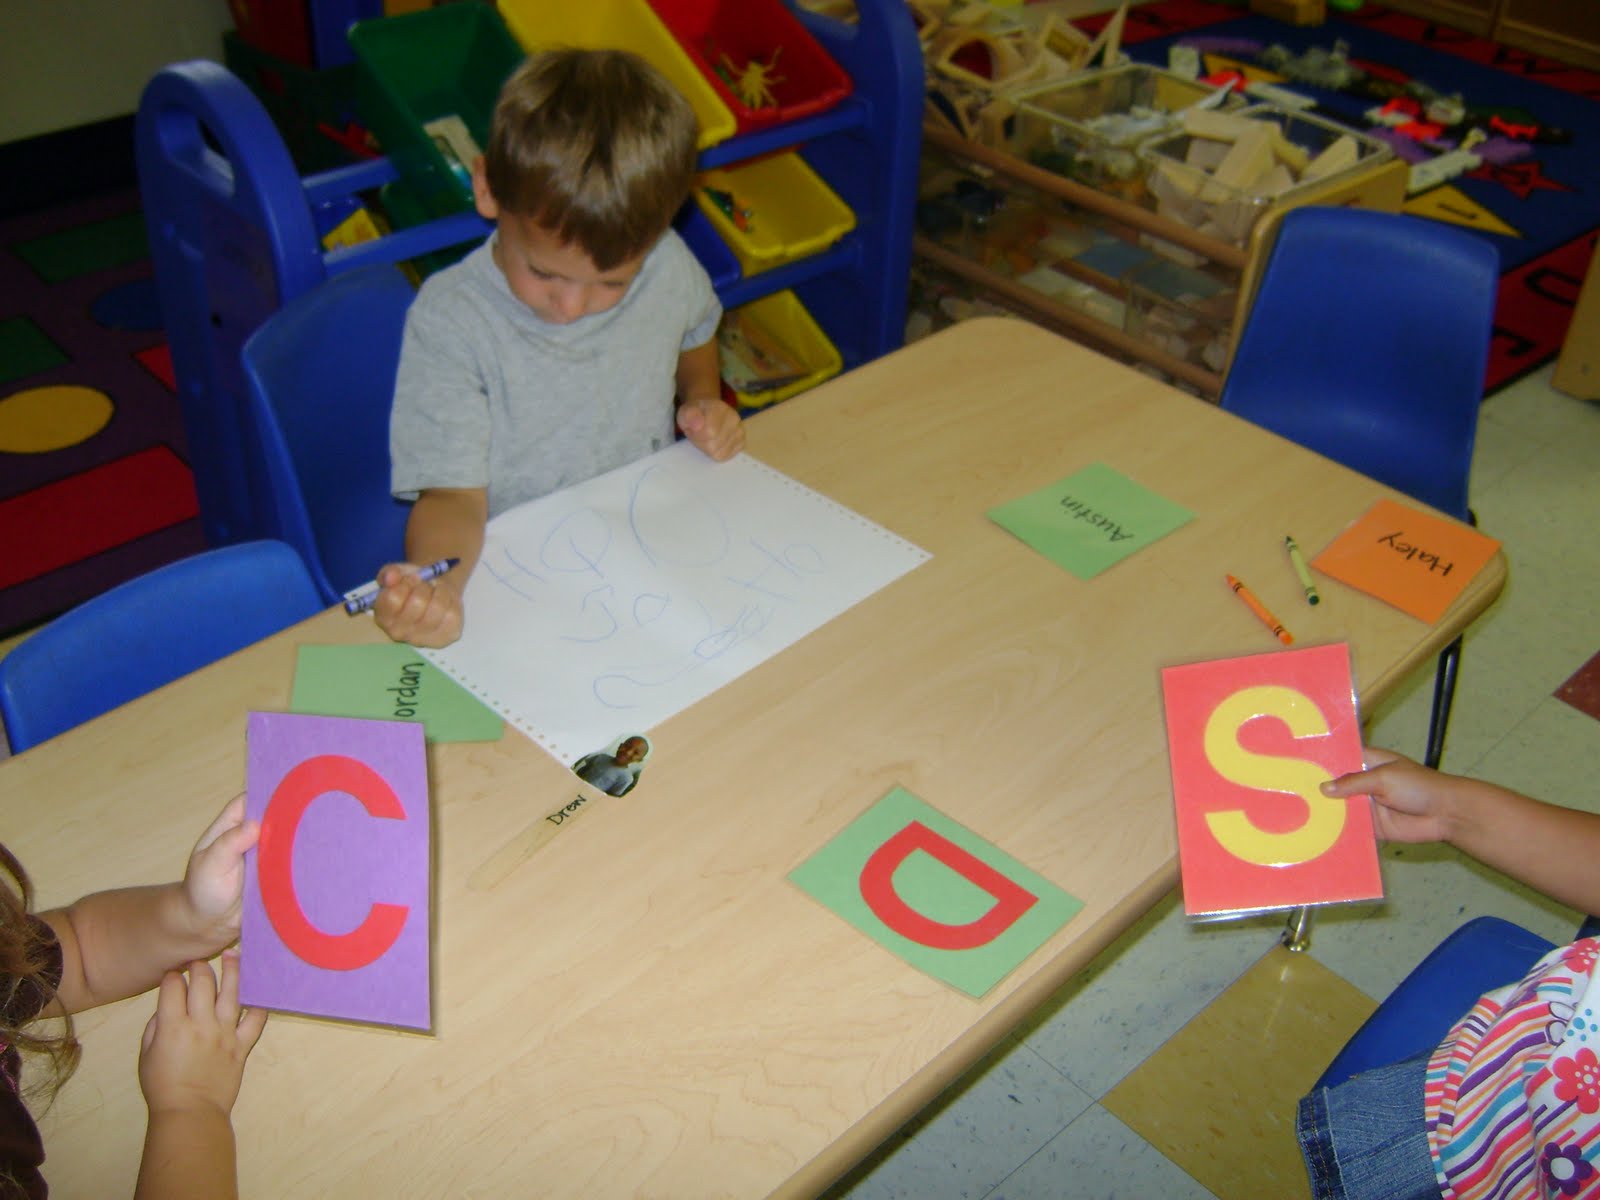
 This is an example of how I used a KWL Chart in my prekindergarten classroom. For those of you that don't know, KWL stands for "Know," "Want to know," and "Learned." In this situation, we were reading Good Morning, Chick. After we'd done a picture walk I asked the children what they knew about the story, and wrote down their responses under "K." Then we discussed what they wanted to know, based on the pictures they'd seen and the information they had. I wrote their responses in the "W" column. I explained that the next day we'd read the book, and then we would have more information. The next day before I read we reviewed what we had written down in the "K" and "W" columns. After I read the story we talked about what we had learned and I wrote that down in the "L" column. Then we discussed all of the elements of the chart and made decisions about what we wanted to learn more about.
 (Click on the picture to make it bigger)